

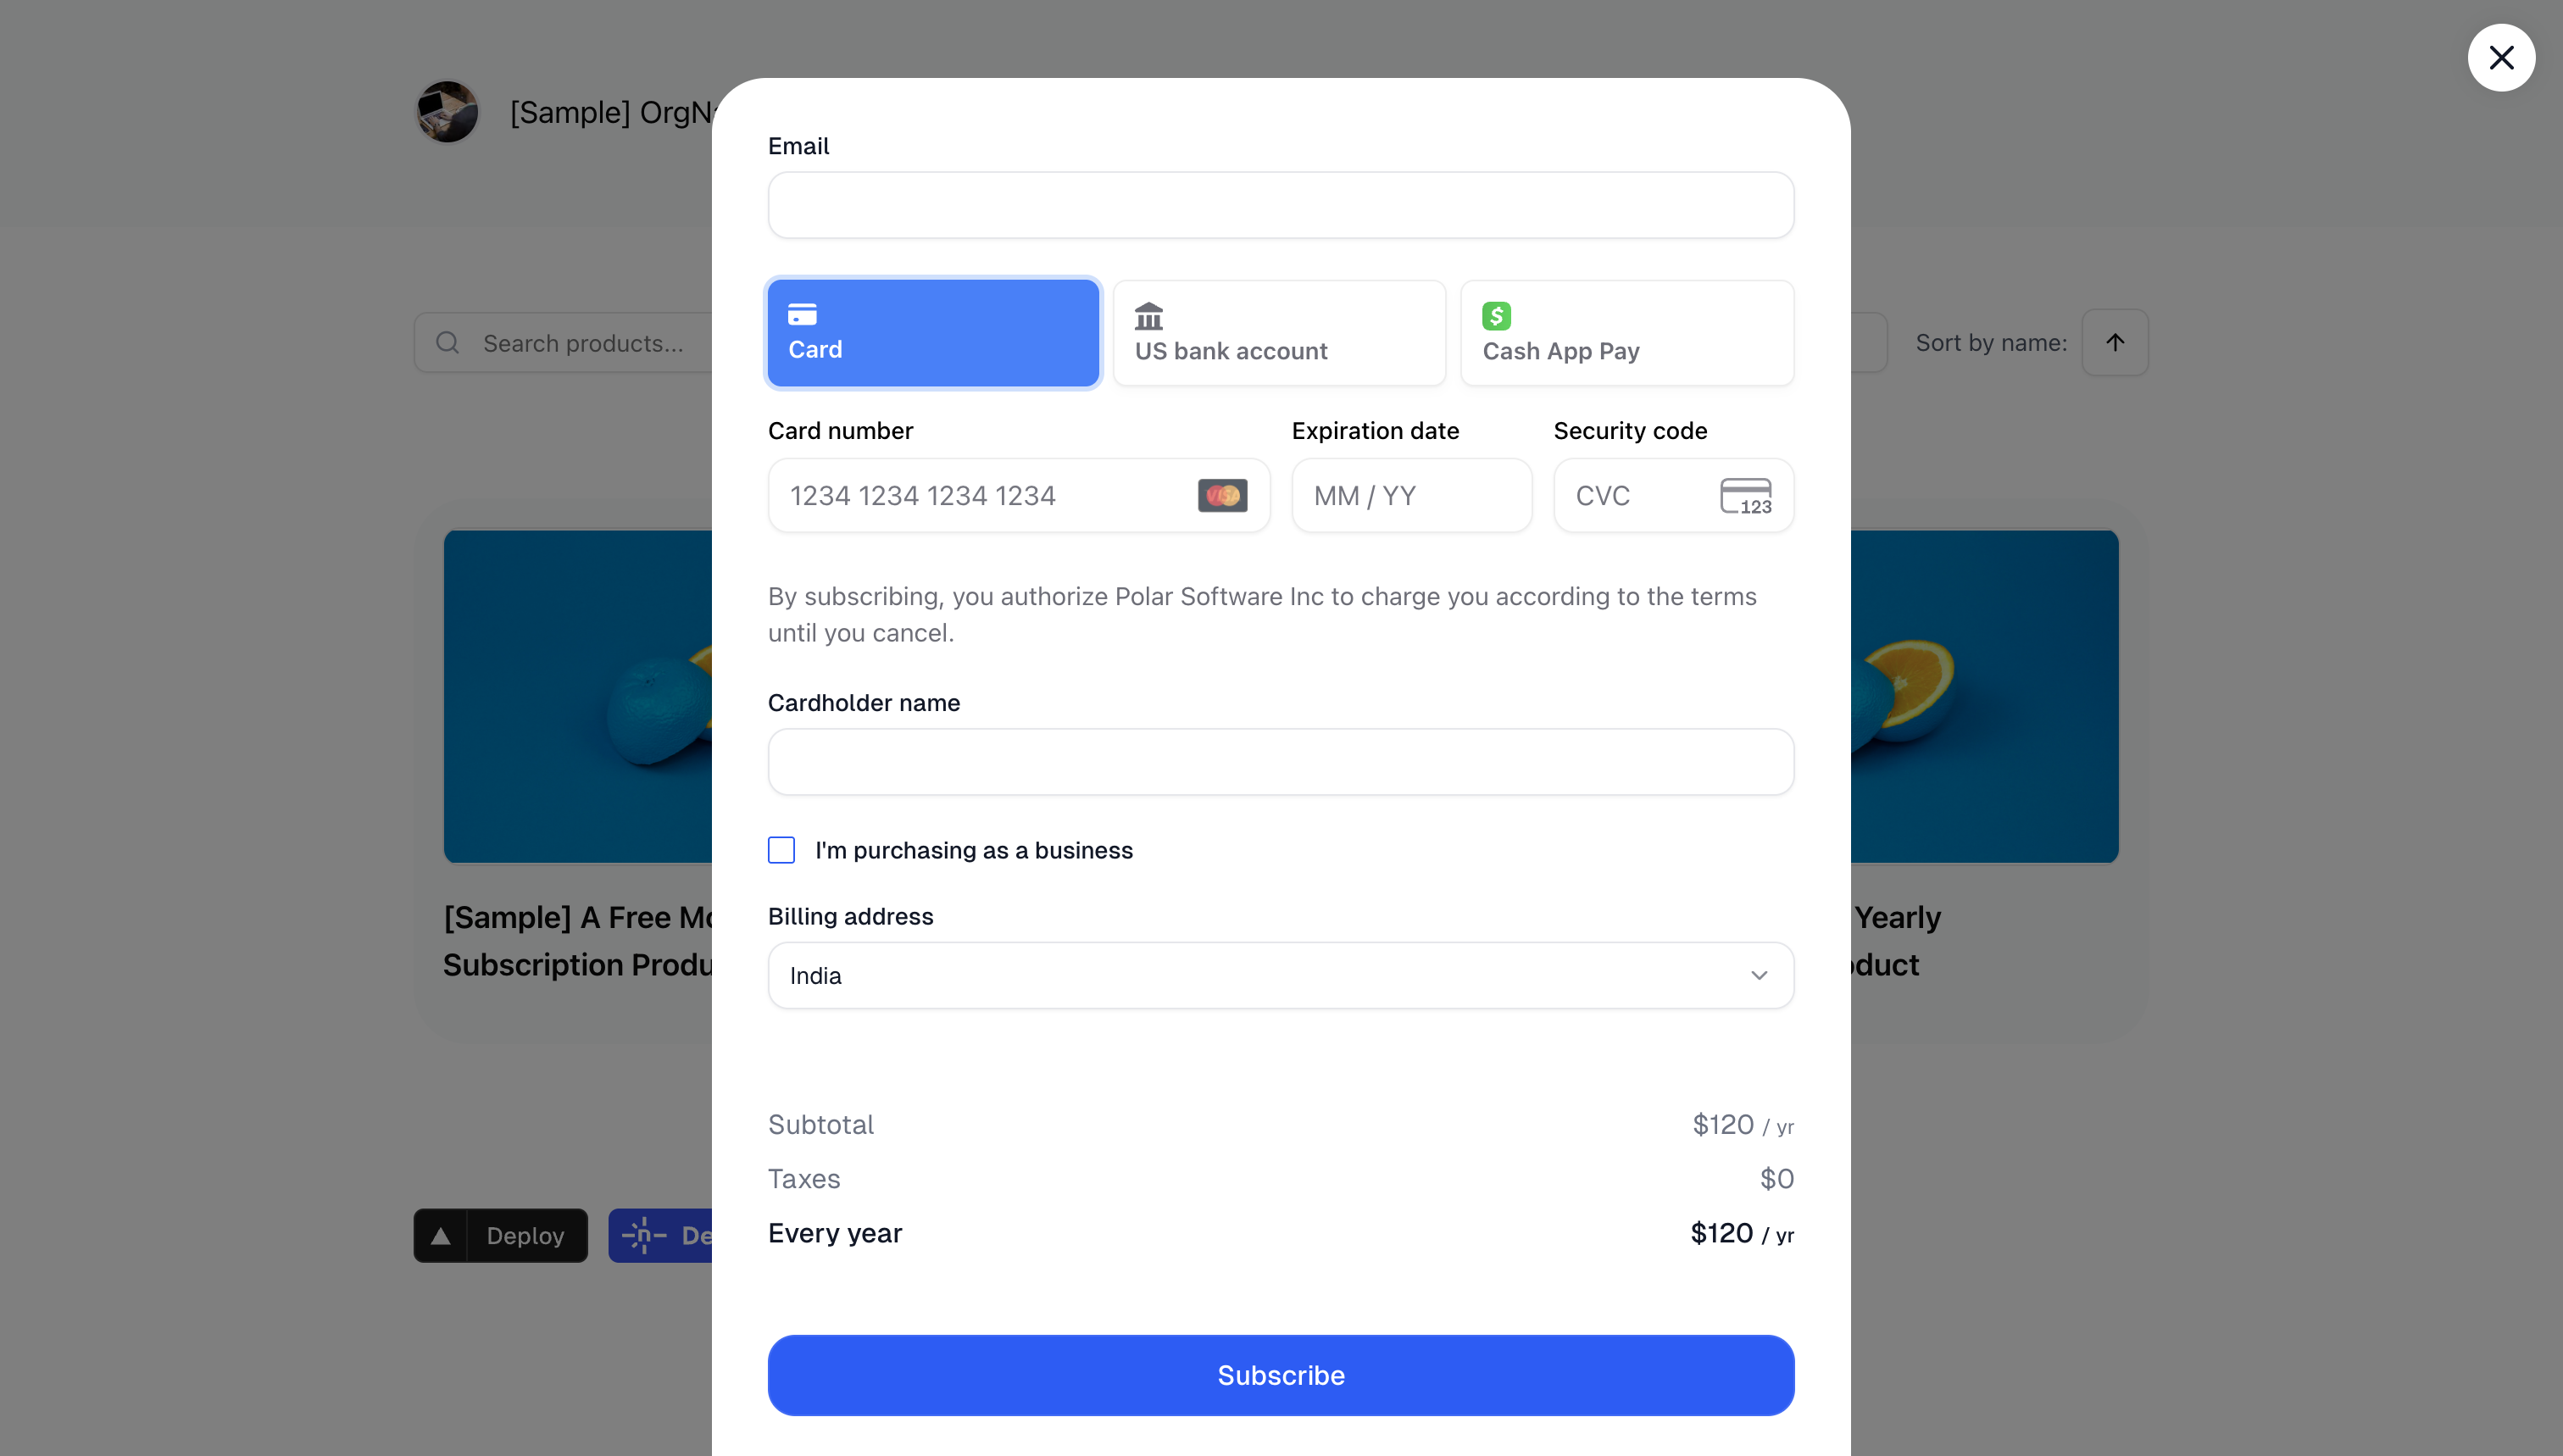
 You can either copy and paste our code snippet to get up and running in a second or use our JavaScript library for more advanced integrations. Our embedded checkout allows you to provide a seamless purchasing experience without redirecting users away from your site.
Code Snippet
The code snippet can be used on any website or CMS that allows you to insert HTML. First, create a Checkout Link as described in the previous section. The code snippet can directly be copied from there by clicking onCopy Embed Code.
The snippet looks like this:
Purchase link which will open an inline checkout when clicked.
You can style the trigger element any way you want, as long as you keep the data-polar-checkout attribute.
Import Library
If you have a more advanced project in JavaScript, like a React app, adding the<script> tag may not be an option. In this case, you can install our dedicated library.
PolarEmbedCheckout helper class and manually call PolarEmbedCheckout.init(). This will add the required handlers on elements having the data-polar-checkout attribute.
Here is an example in React:
Embed Hosts
List the hosts allowed to embed your checkout under Settings → Preferences → Embedding. An embedded checkout only opens on a host you’ve listed, and the browser refuses to frame it anywhere else. After a payment, the checkout sends your page a message carrying a session token for your customer. The allowlist is how we know that page is yours.Writing a host
Write the host on its own, without a scheme:
HTTPS is always allowed. HTTP is allowed as well when the host is local:
localhost, any name ending in .localhost or .local, and loopback or private addresses such as 192.168.1.10 or 10.0.0.5.
An entry without a port matches the default port only, so example.com does not match https://example.com:8443. Write the port when your site uses one.
Applications embedding checkout from their own origin, such as a browser extension, list that origin in full: chrome-extension://abcdefghijklmnopqrstuvwxyzabcdef.
Add every host in one go, staging and preview domains included — separate them with commas or spaces. The list takes effect as soon as you save it, so a host you leave out stops working straight away.
Serving over HTTP
If your site is served over plain HTTP on a public domain, move it to HTTPS before listing it. A public HTTP host can’t be listed, and the message we send after payment carries a customer session token — on a plain HTTP page, anyone on the network can read it.When the embed stays blank
Open your browser console on the page doing the embedding. A message namingframe-ancestors means the host isn’t on your list. Add it under Settings → Preferences → Embedding — the list applies as soon as you save.
When embedding a checkout link from an unsupported host, the same frame-ancestors error message will show up as an API error. This error is also fixed by adding the host under Settings.
Advanced Integration
For users who need more control over the embedded checkout flow, thePolarEmbedCheckout class provides several advanced features.
Programmatically creating an embed
Instead of using declarative triggers withdata-polar-checkout attributes, you can programmatically create and control checkout instances:
Listening for checkout events
You can listen for checkout events to respond to user interactions. For theloaded event, we recommend using the onLoaded callback in the create method to ensure it’s always executed, even if the checkout loads very quickly.
React Integration with event handling
Here’s a more complete React example that handles checkout events:Programmatically closing checkout
In some cases, you might need to programmatically close the checkout - for instance, if you detect that a user needs to take an action elsewhere in your application first:Enable wallets in Embedded Checkout
Wallet payment methods, such as Apple Pay and Google Pay, are not enabled by default when you embed checkout on your website. For security reasons, your website domain must be validated first. This applies to Embedded Checkout only — on Polar’s hosted checkout, wallets work out of the box with nothing to configure. To enable wallet payment methods, email us with:- Your organization slug
- The domain you wish to allow for wallet payments